✌️How to connect Notebook to a new/existing Kernel?

Step 1: Open the Kernel Configuration Menu In the Notebook IDE, open the kernel configuration menu (top right).

Option
Description
When to Use

Running Kernels

Connect to an existing active kernel (e.g., Python 3).

Resume work quickly, save resources

Start Other Kernels

Launch a new kernel with chosen GPU resources (1x, 2x, 4x, 8x H100).

New experiments or heavy workloads

No Kernel

Open the notebook without attaching any compute.

View or edit code without running


Step 2a: Start a New Kernel

  1. Under Start Other Kernels, select the GPU type you want.

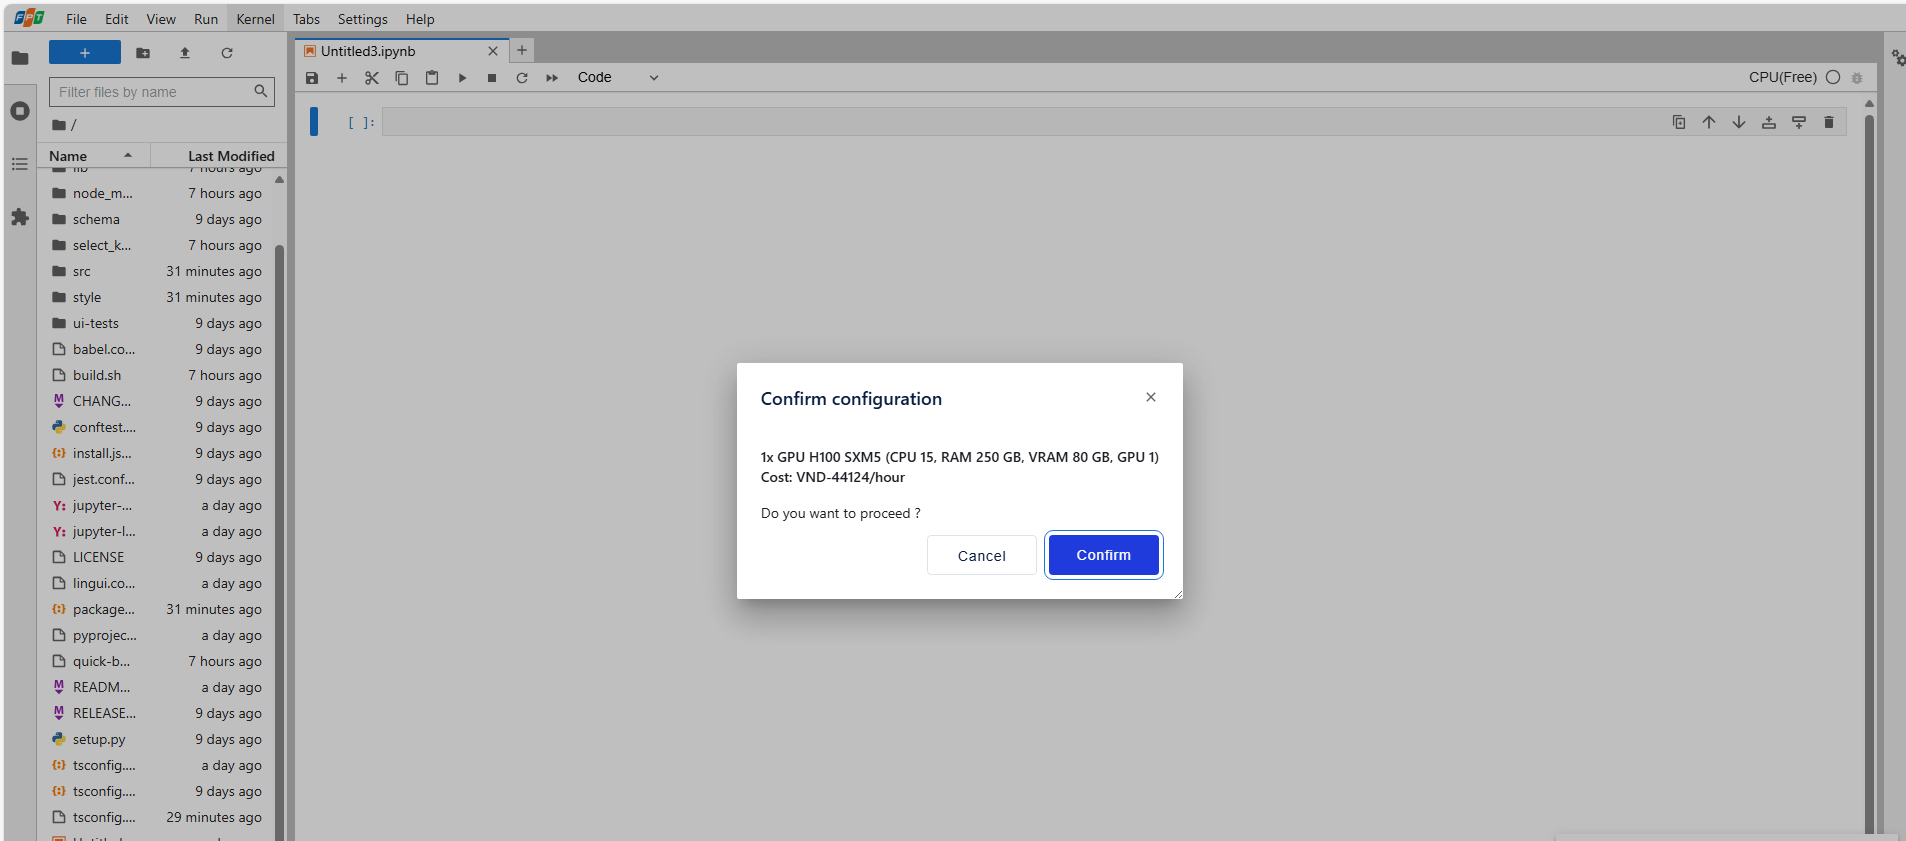
  2. Click Confirm and approve the confirmation pop-up. Alt text

  3. Wait about 1–2 minutes for the notebook to be ready.

  4. Once connected, the new kernel will appear under Running Kernels.


Step 2b: Switch to an Existing Kernel

  1. Under Running Kernels, select the kernel you want to connect to.

  2. Wait about 1–2 minutes for the notebook to be ready.

  3. Once connected, the selected kernel will be shown under Running Kernels.

Last updated