✌️Access a GPU VM
When a GPU VM running Ubuntu is successfully created on the FPT Portal, users can access it by default through the built-in Web Console. Additionally, users can connect externally using SSH clients or third-party software like PuTTY or Bitvise.
Connect to a GPU VM via Web Console
The Web Console allows users to control all GPU VMs on FPT Cloud, even those without a Public IP.
On the Side menu, go to Instance Management, find the virtual machine you want to access, and under the Actions section, select Console.

The browser will immediately open a new window displaying the server screen, allowing you full control and interaction with the connected server.

SSH to Connect to a GPU VM
You can connect to a GPU VM using an SSH client, typically from a terminal.
To do so, you need to have the following three pieces of information:
The public IP address: After your GPU VM is created and allocated a public IP, that is displayed in the GPU VM list or the GPU VM details pages
The username on the server during initial creation is
root.The authentication method for that user. If you add SSH keys to your GPU VM, you can connect using those keys, which we strongly recommend for its additional security. Otherwise, if you use password authentication, use the password you chose.
Once you have your GPU VM's public IP address, username, and password or SSH keys, follow the instructions for your SSH client.
Connecting to your VM
You can connect to your VM in two ways: using a password or an SSH key (.pem file).
Open your terminal or command prompt.
Enter the following command to connect to your VM:
ssh <username>@<VM_IP>Navigate to the directory where your .pem file is located.
cd <path_to_pem_file_directory>Use the SSH key to connect to your VM.
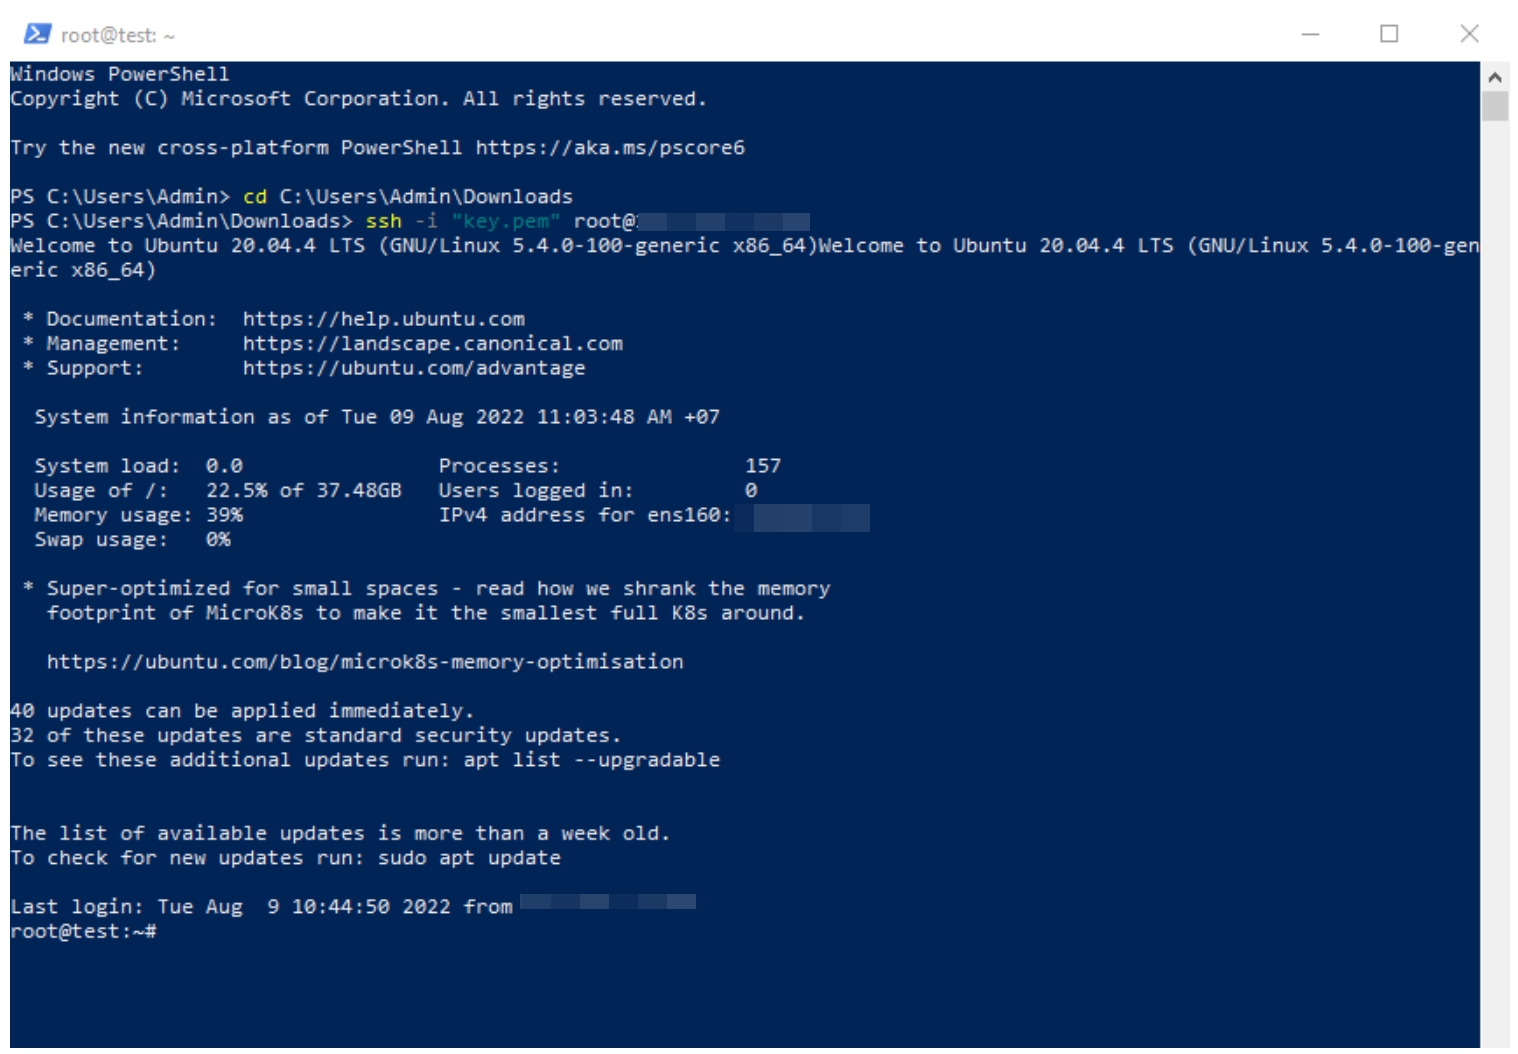
ssh -i "<your_key_file.pem>" <username>@<VM_IP>On your first connection, type
yesto verify the host's fingerprint and continue.

You have successfully connected to the server via SSH. Type
exitto close the SSH session and return to your local shell.

If you see the error `WARNING: REMOTE HOST IDENTIFICATION HAS CHANGED!`, it means the saved SSH fingerprint for the server has changed. To fix it, run the following command to remove the old fingerprint
Last updated
