
✌️How to Launch AI Notebook?
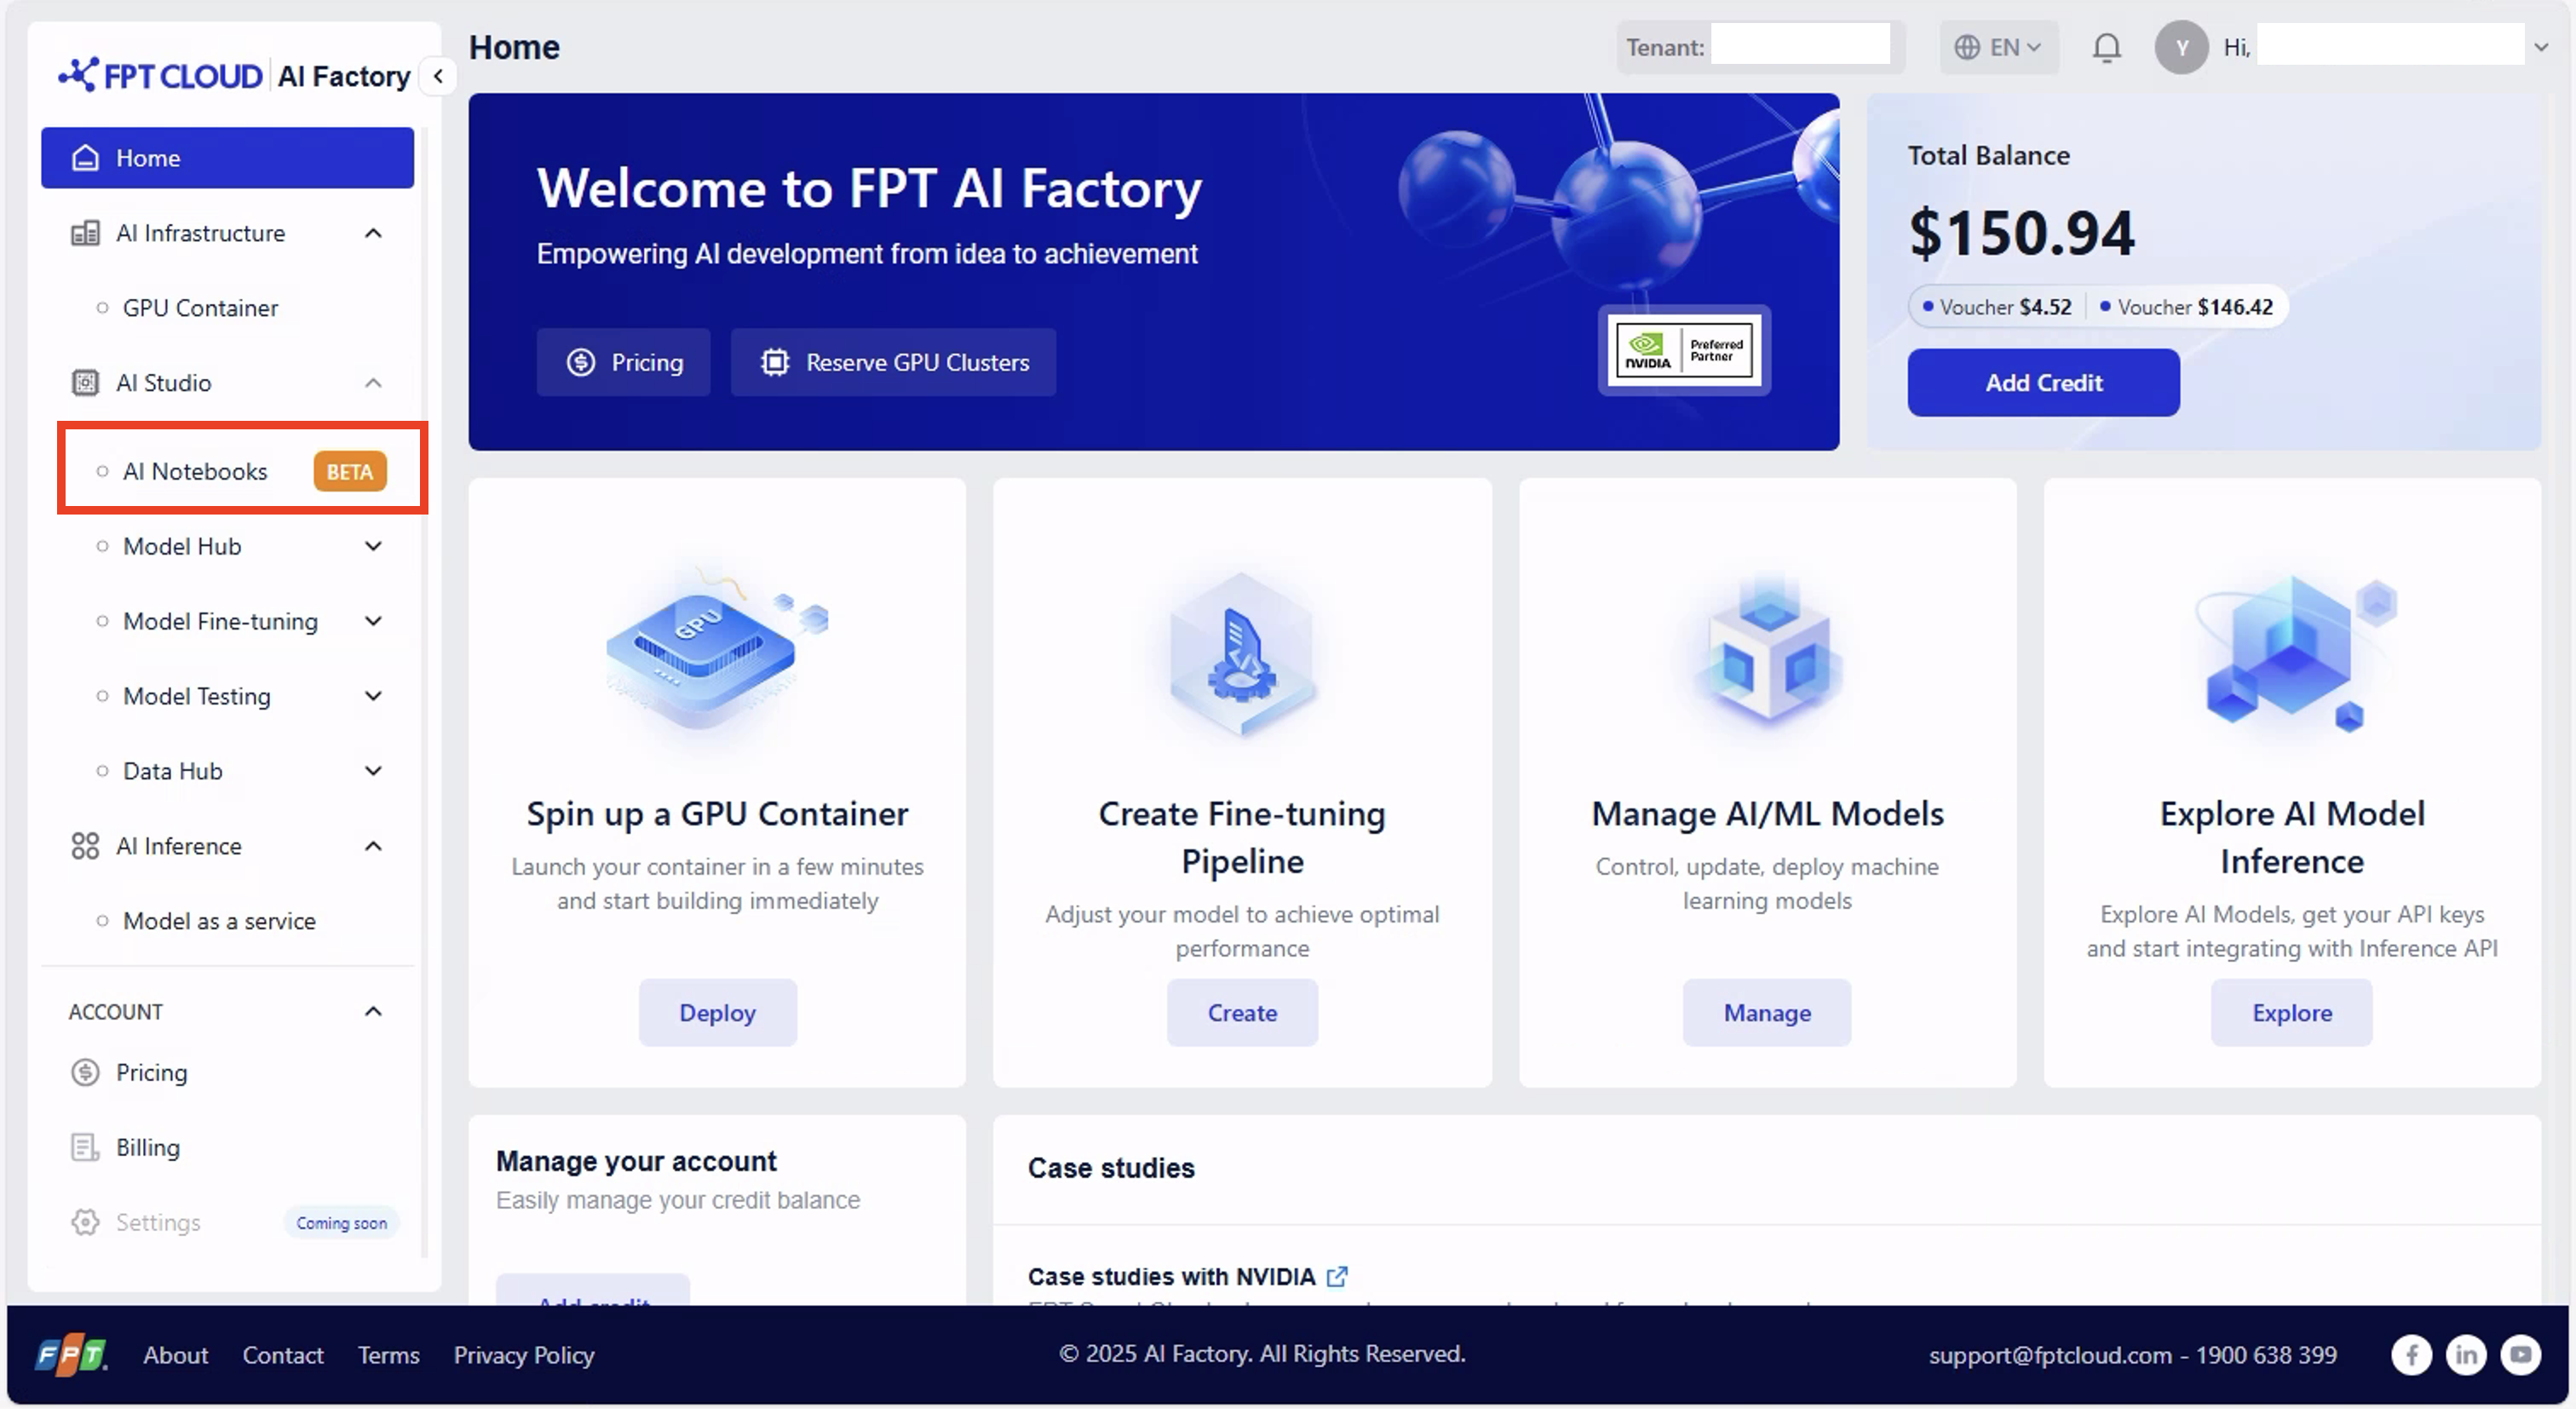
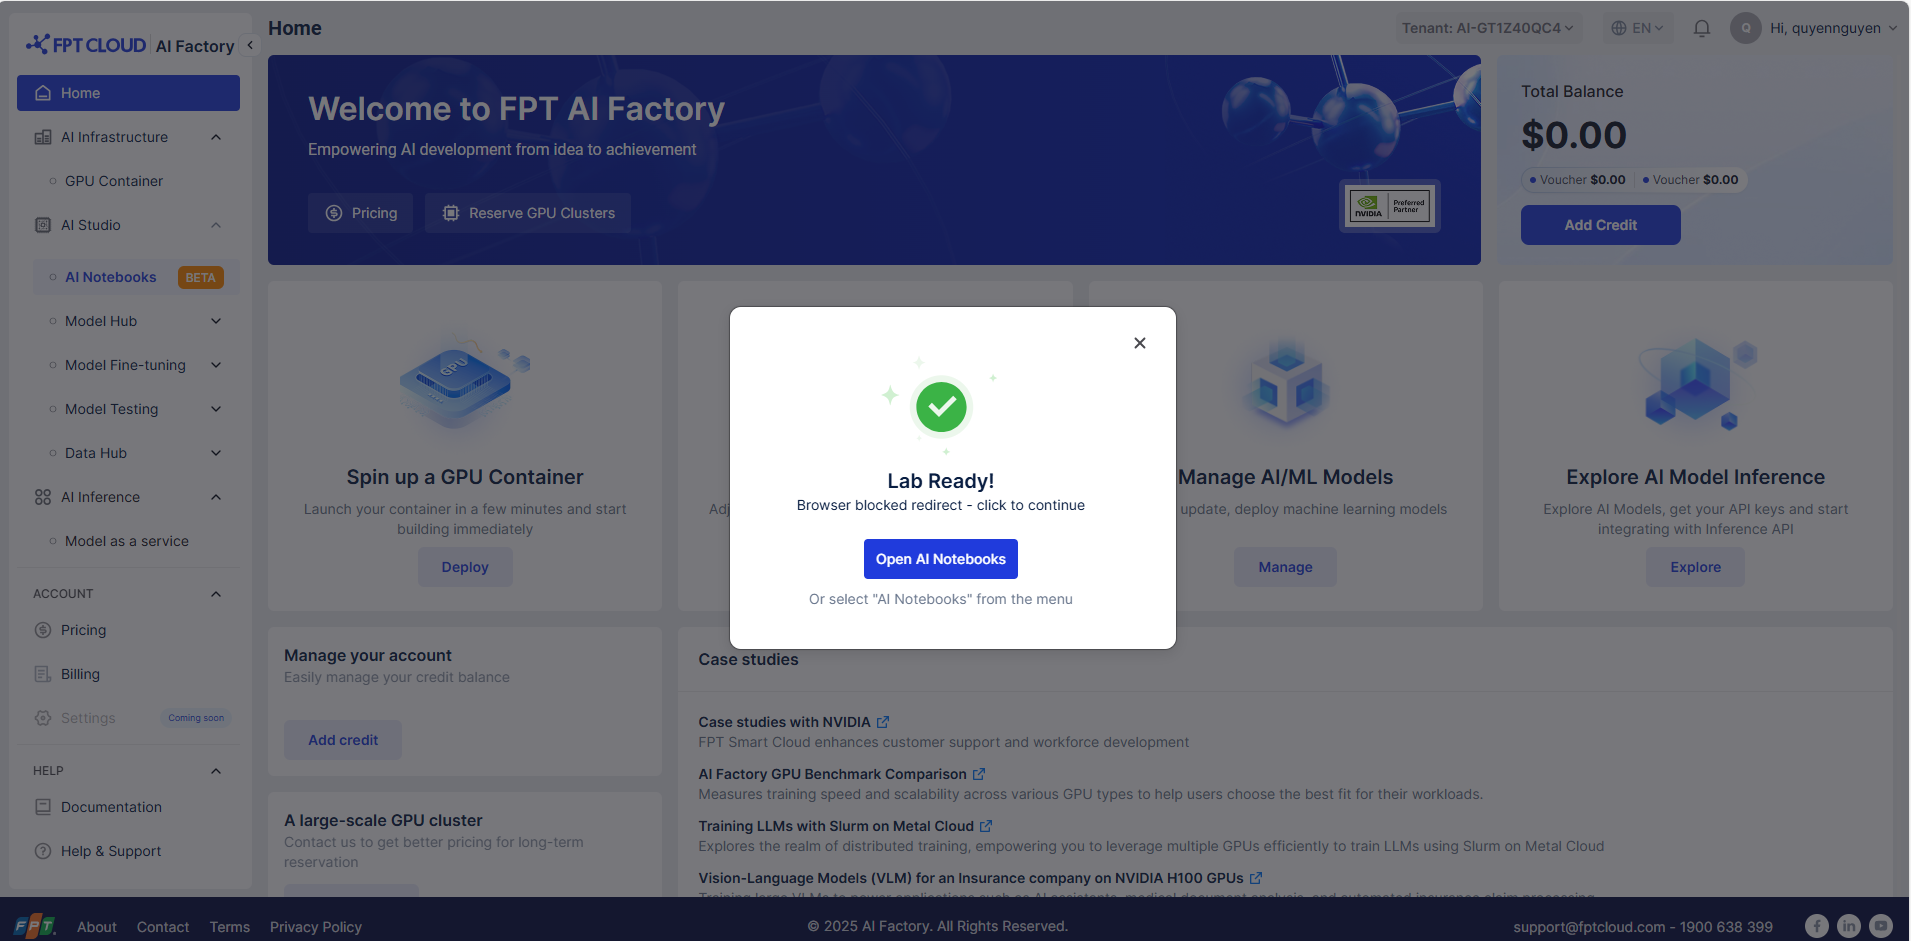
From the left menu, select AI Notebook. It takes about 1–2 minutes for the notebook to start.
Launcher Overview
The Launcher is your starting point in JupyterLab. It lets you create new notebooks, open consoles, and select the type of resources (CPU or GPU) to run your work.
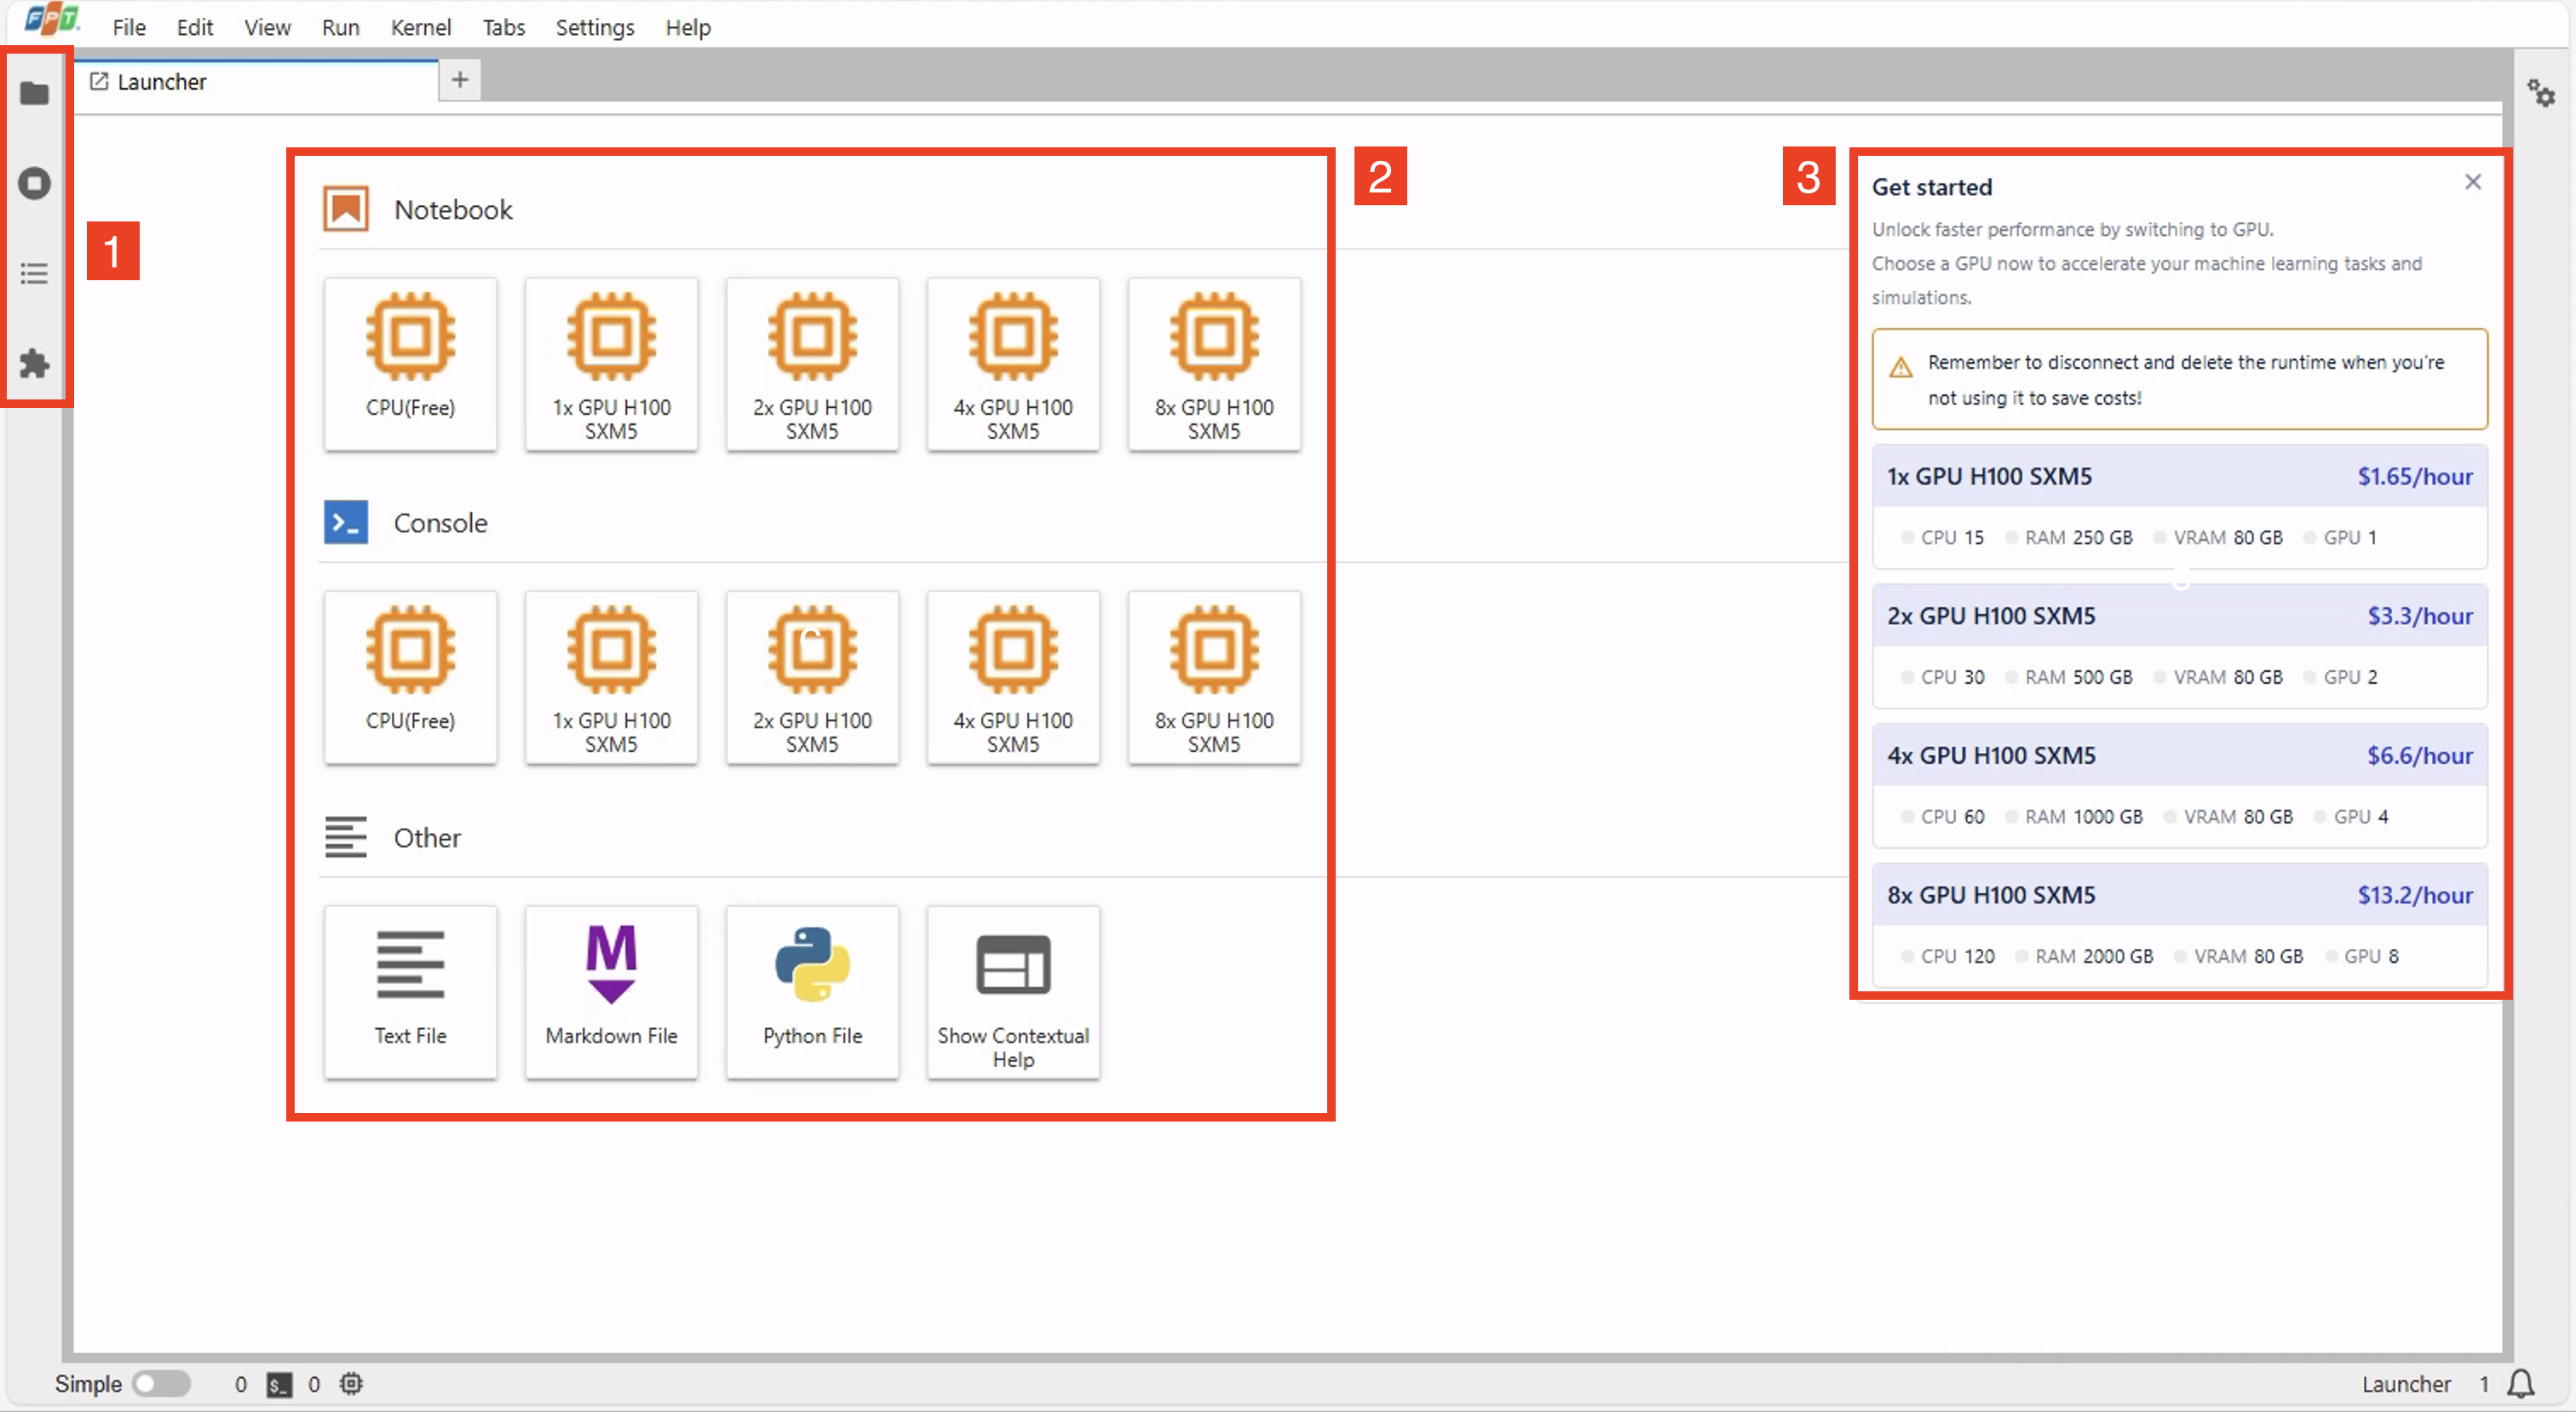
1. Quick Access on the Navigation Bar
File Browser Your workspace hub for managing files and folders in the AI Notebook environment. Quickly open, rename, delete, or organize your files.
Running Kernels / Notebooks Displays all active kernels and open notebooks. Use it to monitor sessions, check GPU/CPU usage, and stop idle ones to free resources.
Table of Contents Gives a structured view of your notebook’s sections. Easily jump between headings without scrolling through long notebooks.
GPU Kernel Management Controls and monitors GPU kernels. Check GPU allocation/usage status and shut down unused GPU kernels.
Extensions Manager Lets you extend your AI Notebook with extra tools and integrations. Install, enable, or disable extensions like Git or code formatters to enhance productivity.
2. Notebook and Console Options
Notebook Section Use this when you want an interactive, code-plus-output environment. Ideal for developing, visualizing, and documenting code with Markdown, charts, and notes. Choose a new notebook session with different resources:
CPU (Free)
1x GPU H100 SXM5
2x GPU H100 SXM5
4x GPU H100 SXM5
8x GPU H100 SXM5
Console Section Use this when you only need a lightweight, command-line interface to run quick scripts or test snippets — no rich text or visual output. Start a console session (command line + code execution) with the same resource options.
Other Section Create additional files like:
Text File
Markdown File
Python File
3. Resource Selection & Pricing Panel
Reminder: Disconnect and delete unused runtimes to avoid extra costs.
Displays available GPU configurations with details (CPU, RAM, VRAM, cost per hour).
Last updated
Was this helpful?